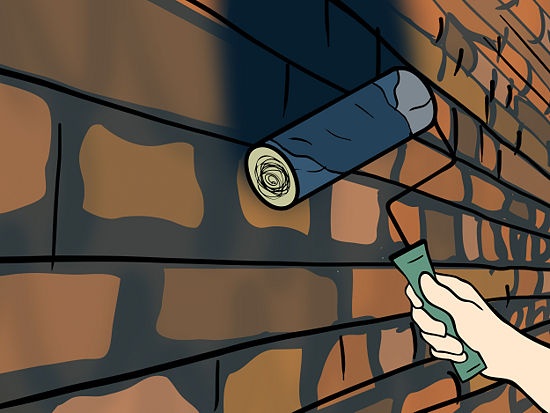
 If you’ve ever tried painting the exterior of your house or you’ve watched someone do it, you know that it’s a very demanding task. However, with proper preparations, your painting project can run smoothly and be a success. Of course, you must start with the basics; deciding the extent of the area, you intend to paint. Assuming you’ve already made a selection of your exterior paint colors, and you have everything ready, there are steps you must undertake to ensure efficiency and minimize frustration during the project.
It’s not just about getting some brushes and rollers from a nearby hardware store and getting started. You must be careful and take necessary steps that will go a long way to stretch and increase the longevity of the work. Here are steps to follow before you even open that paint can. Of course, if you aren’t confident, you can call on the Brisbane House Painters team.
Start by Washing the Exterior
At this point, you haven’t even started painting your house. Start by washing your house exterior right from the bottom to the top. You may need to rent a pressure washer to help do this faster and efficiently with less effort and energy. If there’s mold growth or stains on your home’s exterior, be sure to use cleaning additives. Ensure the area is thoroughly clean to ensure maximum adhesion of the paint. Once the cleaned section has dried up, go ahead to step two.
Scrape the Area and allow it to Dry before Applying the Pint
As soon as the house has dried, use a paint scraper to scrape away the old, flaking paint present on the exterior. You may also need to use some elbow grease. Experts recommend allowing your house to dry after the first step before starting the scraping process. Don’t make the mistake of scraping your home’s exterior when the area is still wet as this will only lead to more flaking paint as soon as it dries.
Time to Bring Caulk before Tackling the Exterior Painting
At this point, your house’s surface is clean, dull and dry. You’ve removed any dirt, stains, and mold growth that might have been present. Now it’s time to deal with the cracked seams along the vertical joints and between clapboards. Make sure all the cracks and voids on the exterior are filled up before wiping away the excess caulk using a damp piece of cloth. Note that this procedure should be handled with caution and care. Don’t confuse ventilation gaps with cracks.
If any areas need repair, find a handyman to help. Only handle tasks that you’re sure you can, otherwise find a professional to help.
Apply Primer
One of the things you need is an oil-based primer. We recommend Dulux. The purpose of a primer when painting is to help in sealing any bare wood around the exterior surface to be painted. Furthermore, a primer also creates an air-tight barrier between the surface and the paint applied. Consider applying light sand around rough bare spots before priming.
Of course, if you’re painting inside the home, be sure to use dropsheets to protect your carpet & other flooring.
Trim nearby Trees and Shrubs before Getting Started
You want to have sufficient working space around your home when painting. It’s, therefore, recommended to trim any shrubs and trees that are near your home. This will not only give you an easier time when working but will also prevent tree branches and plants from affecting the painted area. Note that the branches can hit the wet paint thereby damaging your work.


